Until May 2022, the import of new data to museum-digital was always limited by the need to involve a member of the development team. Not least, because users had no option to upload potential import data in bulk. After many years, we have now finally opened up a way for users with access to musdb to import data on their own.
The most important precondition for this was, once again, the option to upload generic data to the server. This can now be done using a newly added WebDAV interface. WebDAV is a protocoll that can be used in a roughly analogous way to FTP, but it is built on top of HTTP (the main protocol used for accessing websites). Support for the protocol is hence rather good – even Windows Explorer can mount WebDAV network drives – and it should not be blocked by the firewalls of larger museums.
How to import data using the new WebDAV interface?
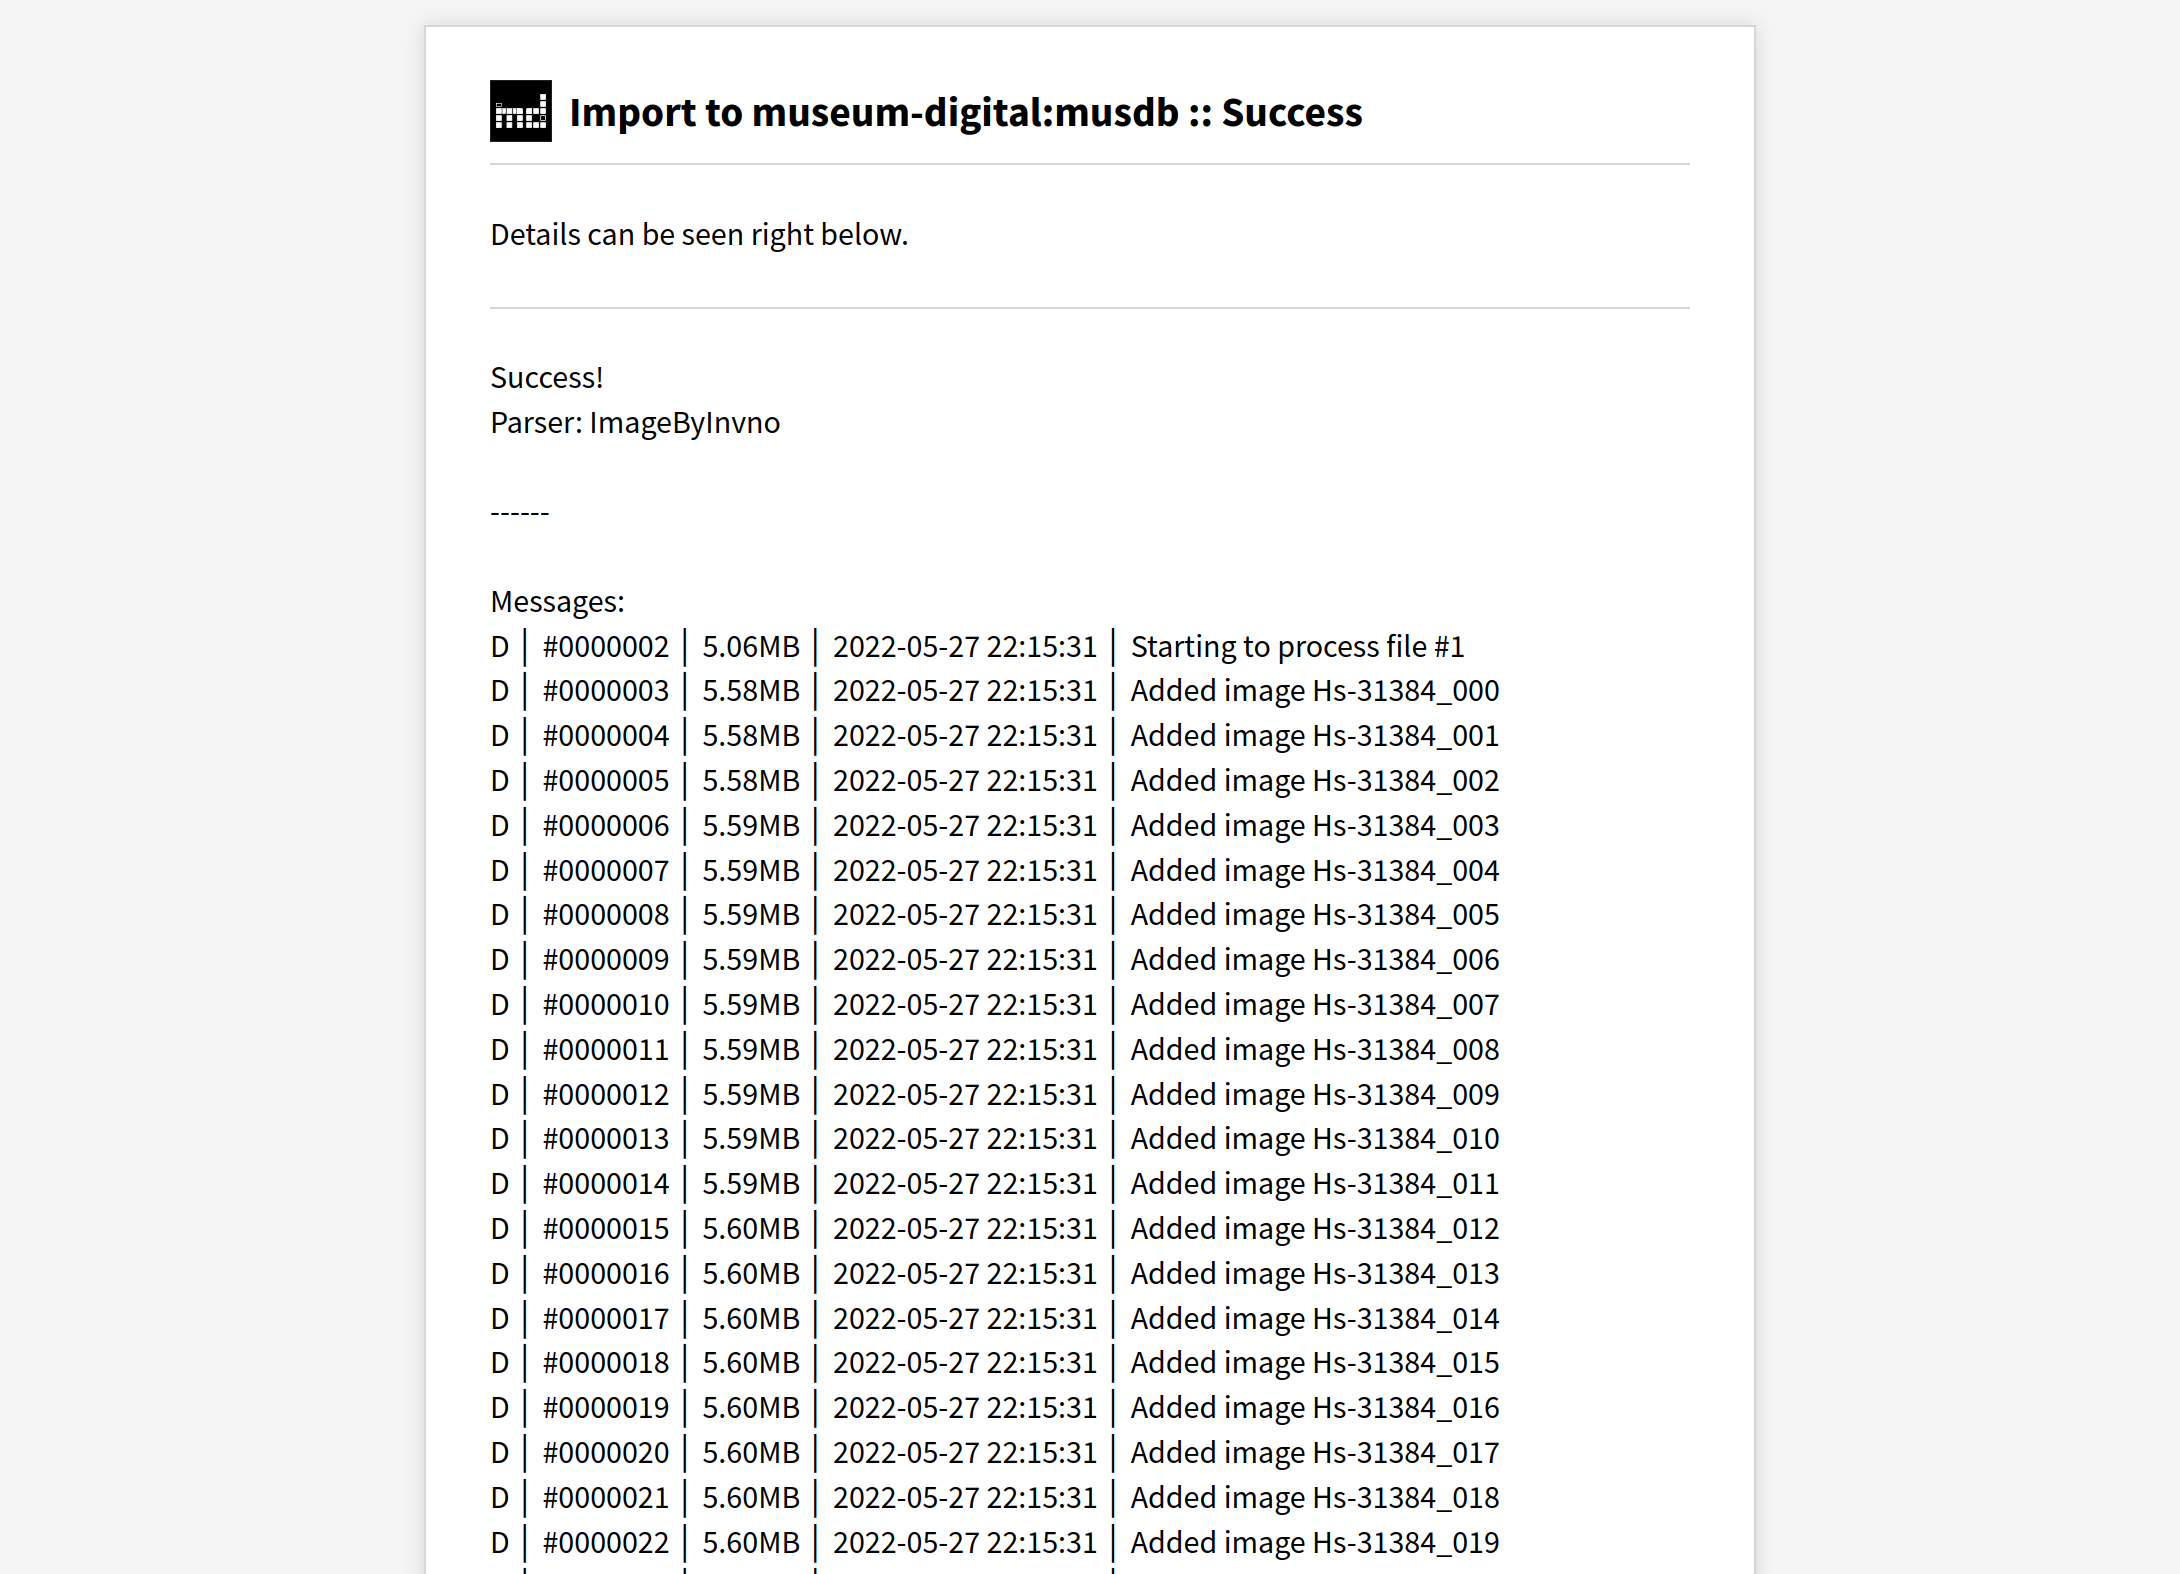
First, one needs to generate login data to the WebDAV drive for the respective institution (this is always the institution one’s account was created for, even if one has access to multiple museums’ data. To do so, one needs to login to musdb and then navigate to one’s account settings. Here, there is a new tab available below the table for basic login information: WebDAV. Once that tab is opened, a short explanation becomes visible alongside a button “Generate WebDAV password”. Upon clicking that button, a password is automatically generated the login information is displayed in a dialogue overlay. This login information should then be stored in a safe place (at best, a password manager), as it is not accessible from the server anymore at a later point in time.
Using this data, one can now proceed to connect to the WebDAV drive using one’s WebDAV client of choice. For first attempts to try out the import process, one can simply use a file manager (as stated above, even Windows Explorer can handle WebDAV), but if one repeatedly wants to work with the import tool, it is advisable to get a dedicated WebDAV client like WinSCP. Note that, depending on the client, it may be necessary to change the protocol from davs:// to https://.
Uploading data for imports and configuring imports
When one accesses the WebDAV drive for the first, two folders and two files will be listed:
.
├── import_config.sample.txt
├── IMPORT_IMG
├── IMPORT_XML
└── README.md
The meaning of README.md should be evident: here you can also read about the expected folder structure and the next steps required for running an import.
Uploading import data
The folders IMPORT_IMG and IMPORT_XML are where import data should be uploaded to. Images as well as other media files go to IMPORT_IMG; metadata files – irrespective of their format – can be uploaded to IMPORT_XML. It is important to note, that there should be no further subdirectories created within the directories – the import scripts expect a flat folder structure.
Configuring the import
Finally, the server needs to be told what kind of import data is present here and that there is an import to be done at all. The file import_config.sample.txt can be used for this purpose. Upon opening it in a text editor (e.g. Notepad; not MS Word), one can see all the possible import configuration settings in lines that are to be completed.
Required for running the import are only a mail address and the name of the parser (from the user’s perspective: the expected import format) to use. The mail address is required to enable the server to give feedback about the success of an import or any error appearing when importing (the occurence of any error automatically halts the import process). Note that the mail address needs to be one of a user in musdb who holds the user role “museum director” or “administrator”. A detailed list of the available parsers, complete with descriptions, further links and possible parser-specific settings can be found at the end of the file.
All other settings besides the mail address are optional. One may e.g. set objects to be automatically published upon the completion of the import or one can link all the imported objects to a collection, overwriting possible collection links in the import data.
Once the import configuration has been completely filled out, the file should be saved and renamed to import_config.txt. The existence of a file of this name signals to the server, that an import should take place here.
The import runs
The server has a timed script, that checks all WebDAV drives once every four hours to see, if any import data exists there (signaled by the existence of the file import_config.txt). If that is the case, the import will be run.
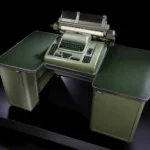
If the import completes without any problems, the import data and configuration file will be moved to a new directory IMPORTS_SUCCESS and a notification will be sent to the mail address named in the configration file. Eventually, the import data will be removed from the WebDAV drive.
Any problem on the other hand immediately leads to the import being halted and the import data being moved to a folder IMPORTS_FAILED. Similar to successful imports, a notification will be sent out to the mail address from the configuration file and to the development team. The selected parser or the import data then need to be adjusted and the import data moved back to the main IMPORT_XML and IMPORT_IMG folders before one can try importing again. Potential problems can range from incomplete data to the existence of fields not yet covered by the respective parser in the import script.
Necessary adjustments to the import tool
To enable users to safely import data on their own, the import tool had to be substantially remodelled. In general, the import tool consists of four types of scripts:
- Representation of the basic data types available for imports (e.g. objects, events, images, collections)
- Writers, that handle writing the imported data to the database in bulk
- Parsers, that handle the reading of import data of a given format and translate values from the import data format to the expected data types in museum-digital
- Frontend scripts, that provide e.g. the command line interface
Thus far, only the data types and writers had been consistently written using an object-oriented approach. Enabling users to set parser-specific settings required us to refactor the remaining code to similarly use object-oriented programming. As a positive side effect, this allows us to test the parsers much more easily, so that errors in rarely-used parsers arising from updates to other components or the programming language itself will be noticed and solved much more quickly than it would have been the case before.
On the other hand, this refactoring and the new requirement to at least add integration tests for all parsers led us to drop support for some rarely used parsers, for which we could not find example data anymore.
Who may profit from the new import option
While the present update allows users to upload import data and run imports themselves, it only allows limited options to adjusting the parsers themselves. It is thus museums who often import data of the same format who can profit most from the new format.
Museums who have import data in a format that is not yet covered by the available parsers will still need to go with the old way of importing and simply write a mail.
P.S.: An up-to-date description of the import process can be found in the German-language handbook.